We are doing another Blog Hop - QAL!
Janice from Color, Creating and Quilting and I are doing another Mini Quilt Blog Hop and Quilt Along. Last time, we did a Shadow Block Mini Quilt: HERE and HERE.
This time around, we have created the cutest little pattern for you. We have called it Quilter's Laundry Day. It is a quick finish that you can personalize so many ways.
(keep reading to find out what...)
This is going to be a long post with the tutorial included, so I will get right to it.
- Day of the Hop - Friday, March 10th
To participate in the Blog Hop, where you share your version of Quilter's Laundry Day, please let us know in a comment or email. (adreamandastitch (at) gmail (dot) com).We will need your name, email, and blog or Instagram. Please let us know if you want to participate before Friday, March 3rd so we have time to get the hop together.- Here is the link to the PDF pattern: Quilter's Laundry Day - No more Craftsy, sorry. Email me if you are interested in the pattern.
Fabric
Requirements and Cutting:
*all measurements in inches*
SKY: (1)7.5x8.5, (1)3.5x5, (1)1.5x6.5, (2)3.5x1.5, (1)3.5 sq,
(1)10.5x2.5
GRASS: (1)2.5 sq, (1)2.5x5, (1)1.5x4.5, (1)3 sq, (1)1.5x2.5,
(1)2.5x9.5
POST: (2)1x5.5
HOUSE: (5)2.5x1.5, (1)1.5x6.5, (2)1.5x3.5, (1)2.5x6.5
ROOF: (1)3.5x6.5
CHIMNEY: (1)3.5x1.5
WINDOW: (1)2.5 sq (2)2.5x1.5
DOOR: (1)3.5x2.5
ROAD: (1)3 sq, (1)2.5 sq, (1)2.5x16.5 (can change to
1.5x16.5 if you prefer a narrow road or
excluded. 2.5 height makes block
16.5x16.5)
(1) 4.5 sq *edit*(unfinished) MINI QUILT. Can be
any pieced block or cut piece of fabric.
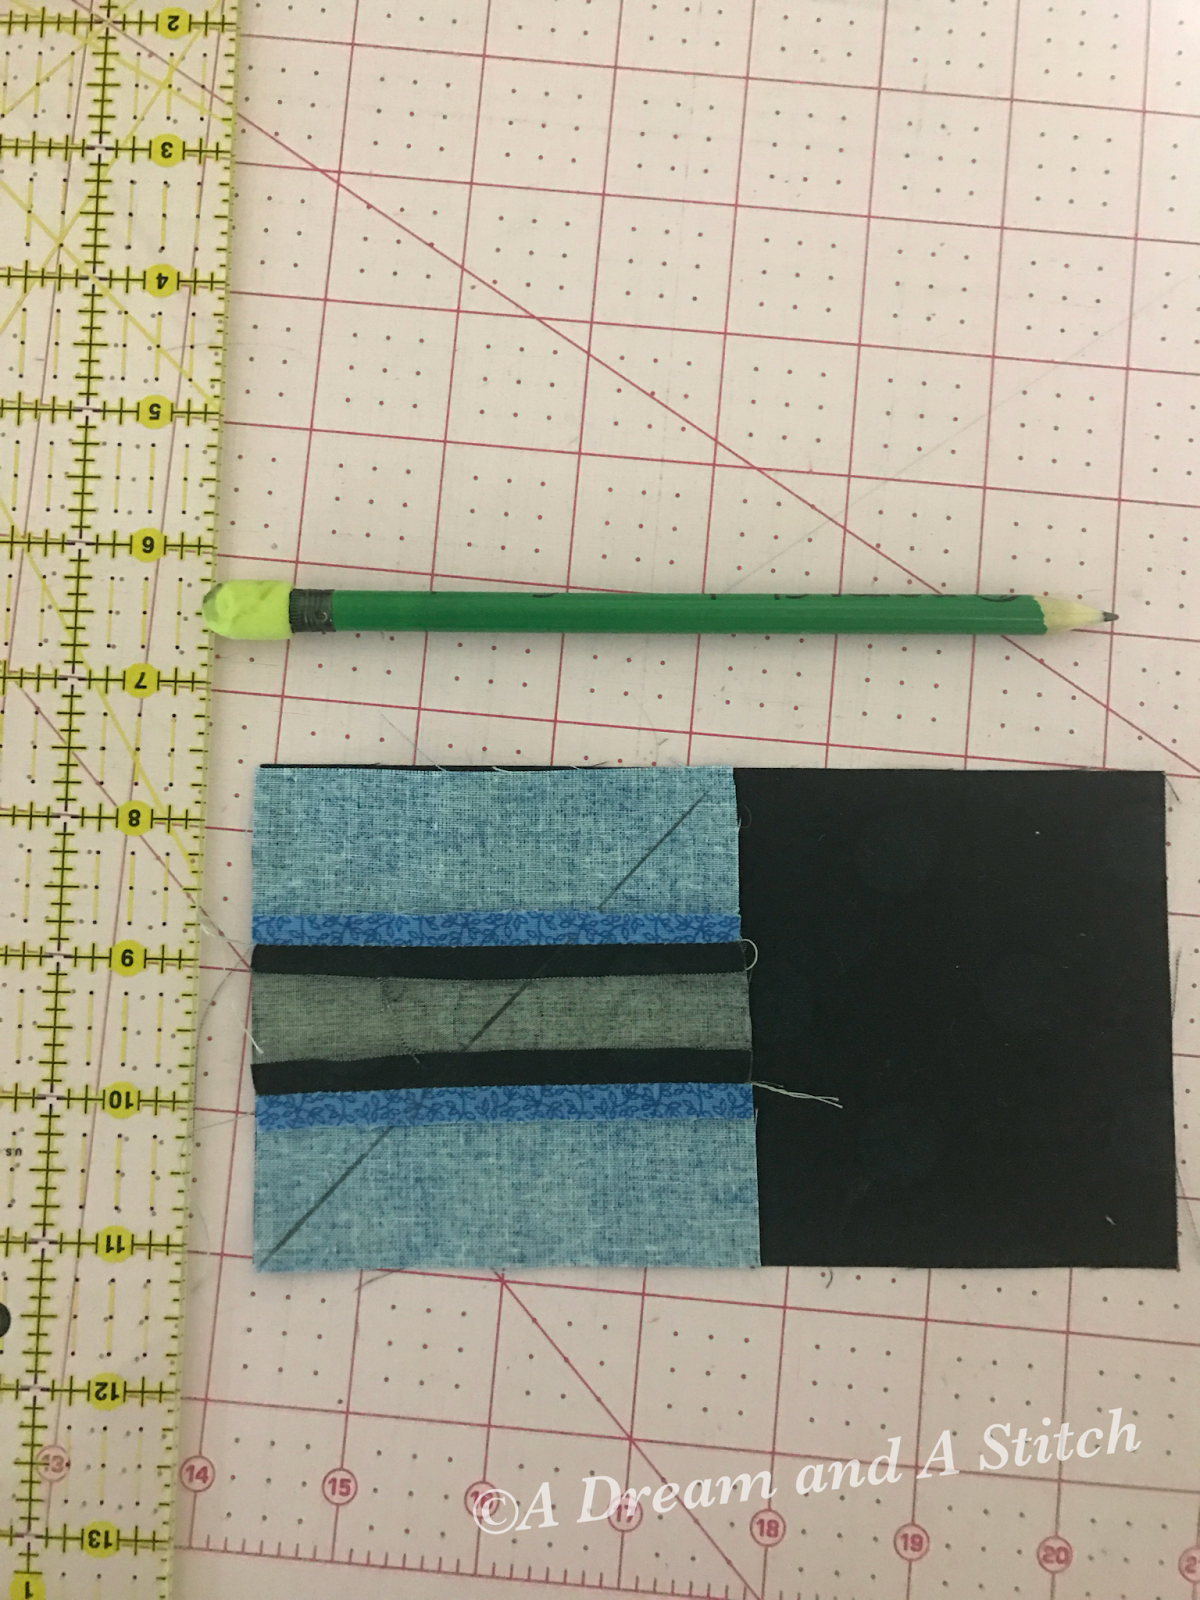
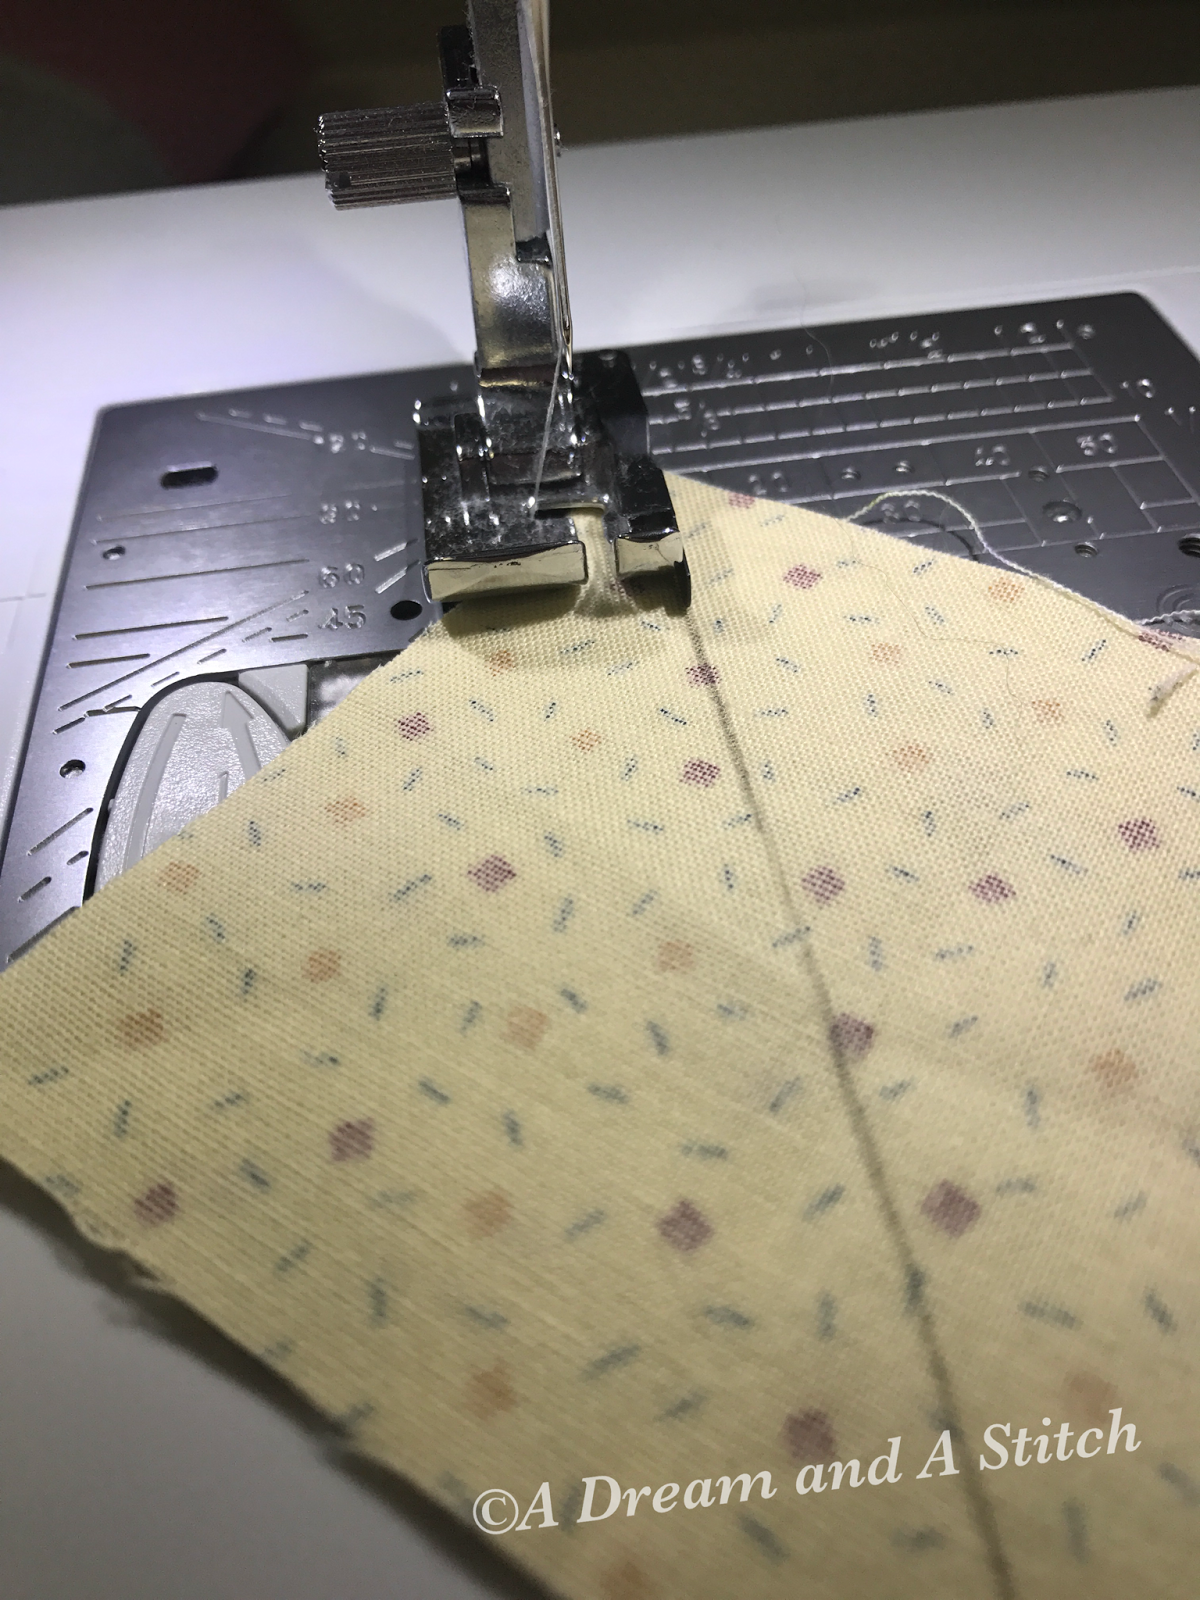
Recommendations: I starched all the fabric as I worked on this to keep the smaller pieces easy to work with. Use your preferred method. I also pressed in the direction that seemed most natural. Either to the dark fabric or away from the bulk of the seams. I like to press open in most cases, but again, this works with your preferred method.
Section A:
·
Make 4.5 Mini Quilt
·
Sew 1.5x4.5 GRASS to bottom of Mini Quilt
· Set
aside

- Sew 3.5x5 SKY to 2.5x5 GRASS on long(5”) edge.

- Cut (2) 1.5x5.5 strips from unit (2x5.5 remains)

- Sew POST strips to both 5.5 sides of 2x5.5 unit


- Cut unit in half creating (2) 1.5x5.5 strips


- Sew SKY/GRASS strip to POST side of unit.
- Making sure SKY & GRASS line up.
- Make 2.
· With wider SKY/GRASS
section facing out, sew SKY/GRASS/POST units to either side of MINI QUILT


·
Sew 8.5x7.5 SKY to top of unit


· Set aside Section A
Section B:
B.1:
·
Sew a 3.5x1.5 SKY strip to each 3.5 side of
CHIMNEY 3.5x1.5 strip. Draw diagonal on wrong side of unit


·
Place SKY/CHIMNEY unit right sides together on
left side of 3.5x6.5 ROOF rectangle,
making sure strips start horizontal and end up vertical when folded back and
diagonal line goes top-right to bottom left


·
Sew along diagonal and trim off excess seam
allowance


·
Draw diagonal on 3.5sq SKY
·
Place on right side of unit and sew along
diagonal. Trim excess seam allowance


·
Sew 1.5x6.5 SKY to top of unit
B.2:
·
Working left to right, 2.5 sides together
o
Sew 1.5x2.5 HOUSE to 2.5sq WINDOW, then 1.5x2.5
HOUSE, then 1.5x2.5 WINDOW, then1.5x2.5 HOUSE


·
Sew 1.5x6.5 HOUSE to top
·
Sew unit B.2 to bottom of unit B.1
B.3:
·
Sew a 1.5x2.5 HOUSE to each 2.5 side of 1.5x2.5
WINDOW
·
Sew 1.5x3.5 HOUSE to bottom


·
Sew 3.5x1.5 HOUSE to right side of 2.5x3.5 DOOR
o
Sew DOOR side to right of HOUSE/WINDOW unit
·
Sew 2.5x6.5 HOUSE to top of unit
·
Sew unit B.3 to bottom of unit B.2
B.4:
·
Sew 10.5x2.5 SKY to 2.5 sq GRASS
·
Sew unit with GRASS on bottom to right side of
other B unit


·
Sew entire Section B to right side of Section A
Section C:
·
Draw diagonal on wrong side of 3 sq ROAD. Place
right sides together with 3 sq. GRASS. Sew ¼
seam on both sides of line to make 2 HST. Press open. Trim to 2.5 sq.


· Sew 2.5 sq ROAD in between the two HSTs with ROAD side of HST against ROAD square. Points going up to center.


· Sew 2.5 sq ROAD in between the two HSTs with ROAD side of HST against ROAD square. Points going up to center.

·
Sew 1.5 x2.5 GRASS to right side of pieced block
·
Sew 2.5 x9.5 GRASS to left side of pieced block
·
Add last 16.5 ROAD strip to bottom of pieced
block. See options in cutting
instructions.


·
Sew Section C to bottom of block


And there you have it! There is lots of space for embellishments of your choice. Fancy
quilting, applique, let your imagination run wild.
I sure had fun making this pattern and I hope you all do too.
We have two very generous sponsors for this Blog Hop. Participants will have a chance to
win one of two prizes. A $25 gift card from Fat Quarter Shop or a Free Class Certificate
from Craftsy. We will draw the winners after the hop (March 10th).
This is a lovely mini Jen, great tutorial too. I will definitely take part. I love the way I can design my own mini quilt, my own little design. or even just use a lovely piece of fabric making it my own. I have downloaded the free pattern already.
ReplyDeleteOh yes! This looks like loads of fun! I'm in!
ReplyDeleteThat is stinkin' cute!!
ReplyDeleteJust downloaded the pattern! Fun! I will do my best to finish the mini and join in the blog hop!
ReplyDeleteCount me in! Now to raid my stash for fabrics :)
ReplyDeleteSuch a cute design!!
ReplyDeleteSuch a cute pattern Jen. I have downloaded and it is waiting for a couple of other projects to be ticked of my list before starting this!
ReplyDeleteWhat a wonderful design and great tutorial. It will be fun to see how the hop shapes up. :)
ReplyDeleteSo cute! I've started on mine! One question: the mini quilt that goes on the line says 4.5 inches. Does that mean the finished size? I made one that meaures 5" but will be 4.5 when I sew it into the pattern. Will that work or do I need to remake it?
ReplyDeleteThat is a 4.5" unfinished block.
DeleteThis looks like such a fun pattern. I picture a whole neighborhood with lots of different quilts airing on the line.
ReplyDeleteI love this pattern! I'd like to join in the blog hop, now to see if I can finish the block in time!
ReplyDeleteBarbara x
Such a cute pattern! Our guild is having a mini quilt silent auction in May and I'd love to make one to enter and another for me!
ReplyDeleteThis is the cutest block, thank you for the tutorial. Have enjoyed today's take on all the different imaginations and talented quilters.
ReplyDeleteCan the patterns for the Laundry Day still be gotten?
ReplyDeleteThanks for sharing valuable post
ReplyDelete